Two decisions, and the roof makes the first one
Everything about an RV solar installation follows from two choices: how the panel attaches, and where the cable goes through the roof.
The attachment method is largely decided for you by what the roof is made of:
| Roof type | Drill through? | Bond? |
|---|
| Aluminum | Yes, with proper sealant | Yes — bonds well when prepared |
|---|
| Fiberglass or GRP | Yes, into structure | Yes — bonds well |
|---|
| EPDM or TPO rubber membrane | Possible, and needs care | Unreliable — adhesives do not bond well to most membranes |
|---|
| Curved anything | Rigid panels will not sit flat | Flexible panel bonded to the curve |
|---|
Rubber membrane roofs are the case that catches people out — bonded mounts frequently fail on them because the adhesive bonds to the membrane rather than the structure, and the membrane itself can lift. If you have one, find out from your manufacturer what they permit before choosing a method.
And the point that decides it for a lot of owners: check your warranty before drilling anything. Some RV manufacturers void roof warranties for unauthorized penetrations, and that is a very expensive thing to discover afterwards.
Drilling: the sealant is the installation
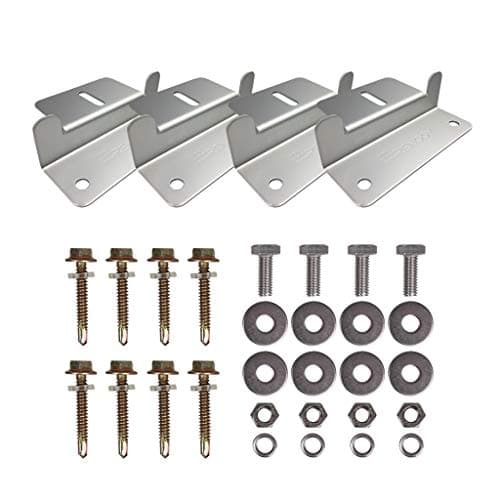
A through-bolted mount is mechanically stronger and it is what most installations use. The holes are not the risk — the sealing is.
- Find the structure. Screwing into thin skin with nothing behind it is how panels leave at speed. Locate rafters or use a backing plate inside.
- Use RV-specific self-levelling lap sealant over the fastener heads, not household silicone. It is formulated for the movement and UV exposure a roof sees.
- Bed the bracket in sealant as well, not just over the top of it.
- Inspect the seals annually. Sealant is a consumable on an RV roof and everybody who has owned one for a decade knows it.
- Do it warm and dry. Sealant applied in the cold or onto a damp roof does not bond properly.
Bonding: no holes, and preparation is everything
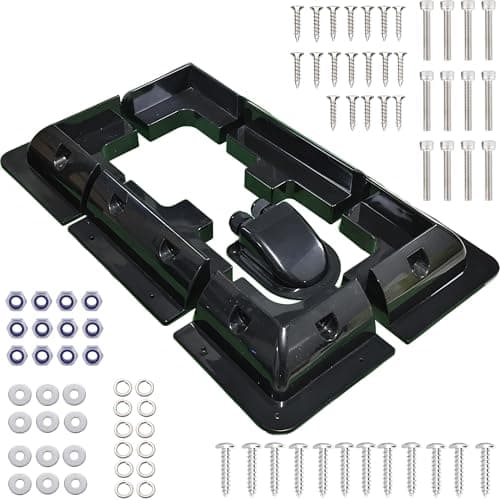
Bonded corner mounts avoid the penetration entirely, which on a roof you cannot easily inspect is a genuine advantage.
- The surface must be genuinely clean. Wax, road film and old sealant all prevent a bond. Follow the adhesive manufacturer's preparation steps exactly.
- Temperature matters. Most structural adhesives specify a curing temperature range, and a cold roof is outside it.
- Allow full cure before driving. This is not a same-afternoon job.
- Not on rubber membrane unless the manufacturer specifically supports it.
70 mph is the load case
The thing that makes an RV roof different from a shed roof: it travels at highway speed, and the airflow over a panel edge generates real lift.
Practical consequences:
- Mount panels with the long edge across the vehicle where you can, so airflow passes over rather than under the leading edge.
- Do not leave a leading edge unsupported. Brackets at the front matter more than at the back.
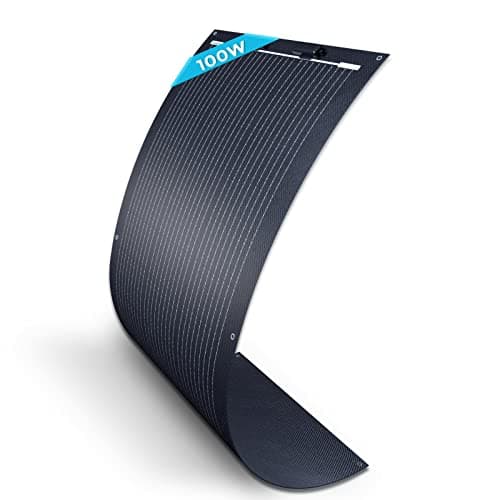
- Flexible panels have a real advantage here. A flush panel presents almost nothing to the airflow.
- Check fasteners after the first long trip and periodically after that. Vibration loosens things.
Cable entry is where leaks come from
More installations leak at the cable entry than at the mounts, because the mounts get sealant and the cable gland is an afterthought.
- Use a proper cable entry gland designed for the purpose, not a hole and a blob of sealant.
- Create a drip loop. The cable should fall below the entry point before rising into it, so water runs off rather than following the cable in.
- Site it near the panel, so there is minimal cable exposed on the roof.
- Seal generously and inspect it with the mounts every year.
- Secure the roof cable run. A loose cable flapping at highway speed will chafe through its own insulation.
Shading is worse on an RV than anywhere
An RV roof is a cluttered place — air conditioner, vents, antennas, a satellite dome, roof rails. All of them cast shadows that move through the day.
Because cells are wired in series, a shadow across one corner costs far more than its area suggests. Two responses:
- Plan the layout around the obstacles, not around fitting the maximum number of panels. A clear panel beats two shaded ones.
- Wire panels in parallel rather than series where dappled shade is unavoidable, so one shaded panel does not drag the rest down. Series versus parallel covers the trade, and the input voltage limit that constrains it.
And the parking consideration: an RV under trees is an RV producing very little, whatever is on the roof.
Fixed panels versus folding, for an RV
Worth being honest, because both have a case.
Fixed roof panels produce every day with no setup, including while driving and while parked at a site you have left. Nothing to steal, nothing to carry. They sit at whatever angle the roof is, which is flat and therefore a compromise.
Folding panels can be aimed at the sun and moved into a sunny patch while the vehicle sits in shade — which is a real advantage, because you often want to park in shade and generate in sun. But they need setting out, storing, and watching.
The arrangement a lot of experienced owners settle on is both: a modest fixed array that keeps the batteries topped up without thought, plus a folding panel for the days you need more. The folding panel comparison covers that side.
Where the power actually goes
One decision to make before ordering anything:
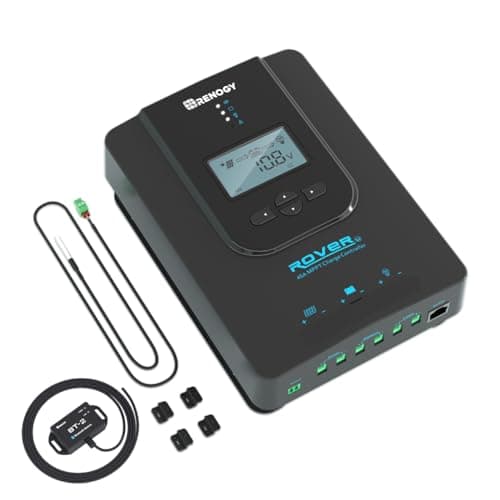
- Into the RV's house battery bank. Needs a charge controller, fusing, and wiring to the bank. This is a permanent 12V-system installation and it powers everything the RV normally does.
- Into a portable power station. No controller needed — the station has one. Simpler, removable, and the station also works at home. The RV power station page covers that route.
Mixing them is possible and it is where most of the wiring confusion in RV solar comes from. Decide which system the roof feeds before you drill anything.